It was my daughters first birthday last week and we had a little get together for family and friends. In the days leading up we did a bunch of baking and cooking, and of course, the centrepiece of any birthday is the cake.
So here is the walkthrough of Maya's cake - it was my first crack at decorating with Regal Ice, and apart from some mild cracking hiccups and going mad with cake glitter, I reckon it turned out quite well ;)
This was carved out of a 12x9 inch basic sponge traybake. I made a template out of a piece of paper and cut around it when the cake was cool, leaving as much cake as possible. Basically it was cut through to fit as much cake as possible on the cakeboard.
Smeared with jam and rolled out the Regal ice. If you make any kind of mistake with Regal ice you can dab some water on it and rub out the mistake with your finger. Do it lightly, but the icing wll bind together. Its very forgiving stuff.
Once the icing was done, I fitted a ribbon around, and again it is sealed with a dab of water on the back - this glues the ribbon to the icing without any marks. Genius, huh?
I got some cheaty little flowers from Hobbycraft already made. A little dab of water on the back and then stuck all over the cake. Place them out the way you want then before gluing in place.
Canny! I finished by cutting "Maya" with letter cutters into icing and decorating the board.
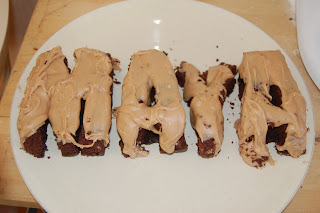
And now for the alternative, ugliest but lovely tasting birthday cake -
This one was for the ice cream ;) Malteaser cake.


No comments:
Post a Comment